
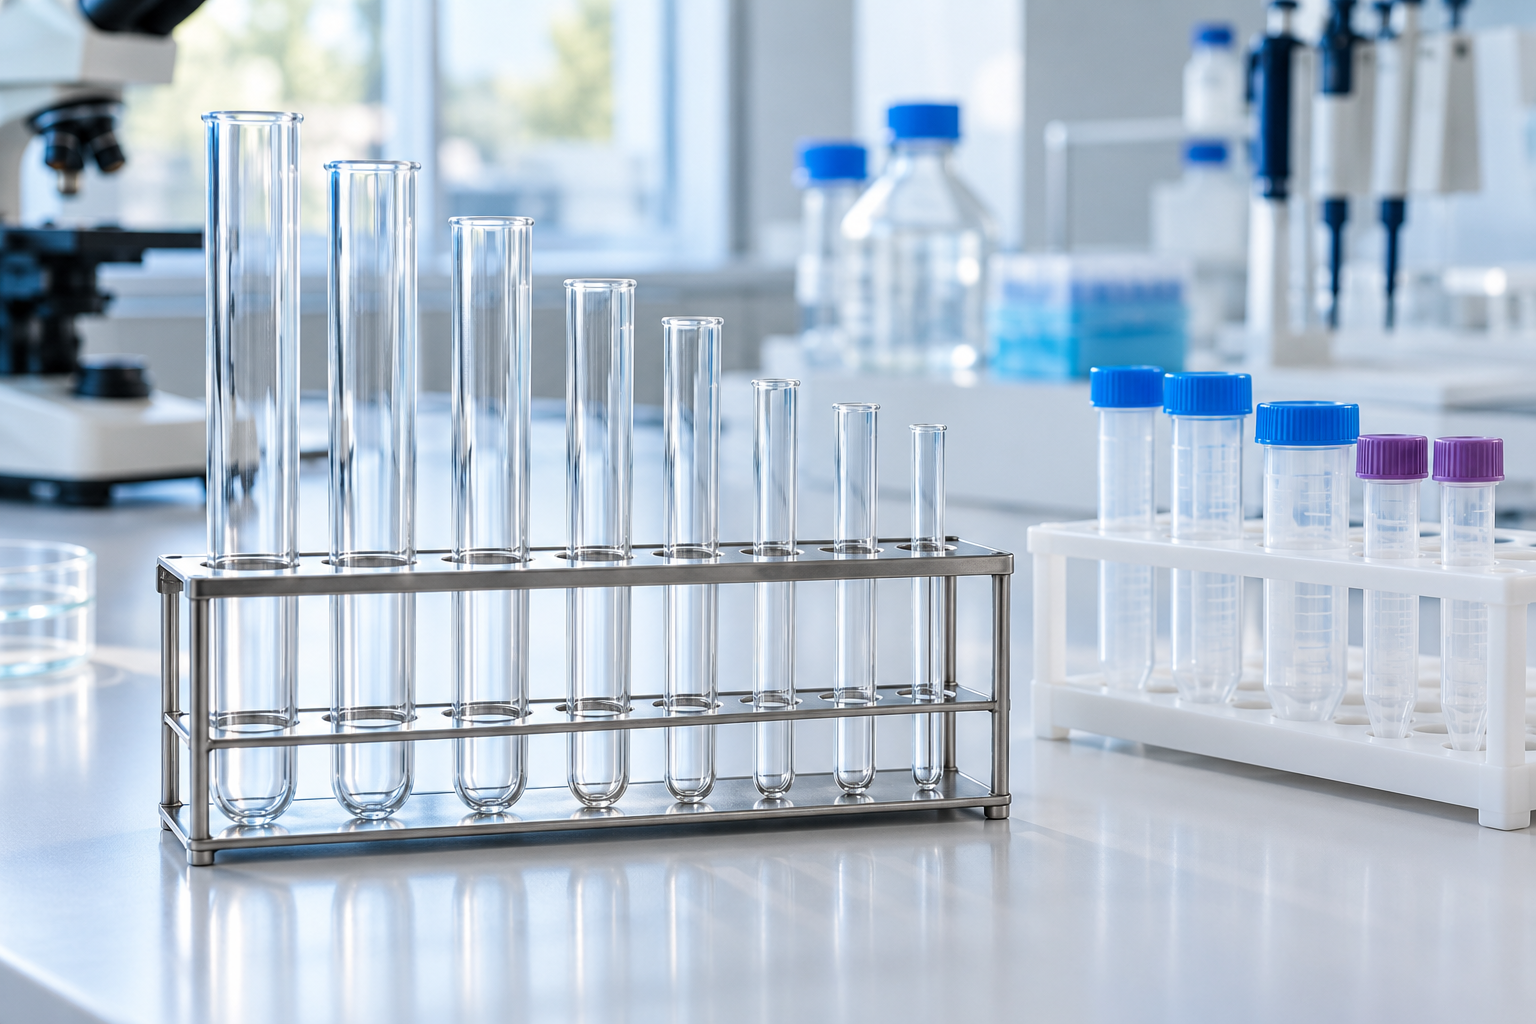
Laboratory test tubes are used to hold, mix and observe small quantities of substances. From comparing colour changes in a teaching laboratory to screening plant extracts in research, they provide a simple way to keep individual samples separate and visible.
However, choosing a test tube involves more than finding a container that holds enough liquid. Its material, dimensions, closure and compatibility with laboratory equipment all affect whether it suits the task.
For South African research, educational and quality control laboratories, selecting the right laboratory test tubes starts with understanding the method.
What are laboratory test tubes used for?
Test tubes support a range of routine laboratory activities, including:
- Holding samples during preparation.
- Mixing small quantities of compatible reagents.
- Observing colour changes, precipitates or foam.
- Incubating cultures in tubes designed for that purpose.
- Heating samples in appropriately rated tubes.
- Temporarily storing samples with suitable closures.
Practical example: A laboratory technician comparing three samples for a visible colour change can place each sample in a separate labelled tube. Using matching tubes, consistent sample volumes and the same observation conditions makes comparisons easier.
Test tubes are primarily containers. Even when they have graduation marks, they should not replace calibrated pipettes or other volumetric equipment where accurate measurement is required.
Types of laboratory test tubes
Borosilicate glass test tubes
Borosilicate glass is commonly selected where chemical resistance and resistance to temperature changes matter. For heating applications, the specific tube must still be approved for the intended method.
Material choice can also influence sensitive experiments. Corning explains that its borosilicate culture tubes help reduce pH changes and contaminants that can potentially leach from soda-lime glass. This illustrates why apparently similar tubes may perform differently in an assay.
Practical example: When developing an assay that responds to small changes in pH, a researcher should assess the tube material alongside the reagents and sample preparation procedure.
Soda-lime glass test tubes
Soda-lime glass tubes can suit routine sample handling and visual observations where the method permits their use.
They should not automatically be treated as interchangeable with borosilicate tubes, particularly where heating, rapid temperature changes or sensitive analytical work is involved.
Practical example: A room-temperature teaching exercise involving compatible aqueous solutions may use soda-lime glass tubes. A procedure involving heating needs a separate check of the manufacturer’s thermal specifications.
Plastic test tubes
Plastic tubes provide a lightweight alternative to glass. Common materials include polypropylene and polystyrene, but their properties differ.
Before choosing plastic tubes, check their compatibility with the chemicals, temperatures and sterilisation process involved.
Practical example: A laboratory preparing multiple aqueous samples may choose compatible plastic tubes to reduce breakage during handling. That choice needs reassessment if the workflow introduces an organic solvent or elevated temperature.
Culture tubes and screw-cap tubes
Culture tubes are intended for microbiological workflows, while screw-cap tubes provide closures useful for certain handling and storage applications.
A cap does not automatically make a tube leakproof, sterile or suitable for transport. The tube, cap and liner must meet the requirements of the procedure.
Similarly, an ordinary test tube should never be assumed suitable for centrifugation. Centrifuge tubes require appropriate ratings and compatibility with the rotor.
Understanding test tube sizes
Test tubes are frequently described by their outside diameter and length in millimetres. For example, 18 × 180 mm generally describes a tube approximately 18 mm wide and 180 mm long.
Those dimensions do not directly state the usable liquid volume. Wall thickness, bottom shape and the space needed above the sample affect working capacity.
| Example dimensions | Possible application, subject to specifications | Main selection consideration |
|---|---|---|
| 10 × 75 mm | Small-volume observations or assays | Access for pipetting and sufficient working space |
| 12 × 75 mm | Compact sample handling | Rack compatibility and sample volume |
| 16 × 150 mm | General laboratory reactions | Total volume after all reagents are added |
| 18 × 180 mm | Applications needing a taller tube | Headspace, handling and equipment fit |
| 20 × 150 mm | Workflows needing a wider tube | Capacity, closure and mixing requirements |
These are illustrative dimensions, rather than a stock list. Confirm the capacity and intended use of each product before ordering.
How to choose the right test tube size
Calculate the final working volume
Consider the sample and every reagent added during the procedure.
For example, a test beginning with 2 mL of sample may reach 6 mL after reagents are added. The tube must accommodate that final volume while leaving enough room for the required mixing or reaction.
Allow space for the procedure
A liquid that foams or needs vigorous mixing requires more headspace than a sample held for observation. Follow the method’s working-volume requirements rather than filling the tube close to its rim.
Check equipment compatibility
Confirm that the tube fits the rack, heating block, water bath support or instrument involved. A tube that holds the correct volume can still be unsuitable if its diameter or length prevents proper positioning.
Match the closure to the sample
For capped tubes, consider evaporation, contamination, chemical compatibility and storage conditions. Never heat a sealed ordinary test tube.
A South African research example: plant extract screening
Research held in the University of Venda repository demonstrates the practical role of test tubes in screening Spirostachys africana extracts.
The methods describe observing colour changes and precipitates in test tubes. A saponin screening step combined 1 mL of sample with 5 mL of distilled water, followed by shaking and observation for persistent foam.
The equipment lesson is straightforward: tube selection must account for the total liquid volume and the behaviour of the mixture. A tube that accommodates the starting sample may leave insufficient room once reagents and foam are present.
Good handling practices
Label tubes before adding samples, use a stable rack and inspect glass for cracks or chipped rims. Reusable tubes need cleaning procedures appropriate to the analysis because residues can affect subsequent results.
Where heating is authorised, follow the laboratory procedure, use suitable protection and keep the opening directed away from people.
Choosing laboratory test tubes with B&M Scientific
When enquiring about laboratory test tubes, provide the required material, dimensions, working volume, closure and intended application.
You can view the B&M Scientific 18 × 180 mm soda glass tube listing on LabBuddy or contact B&M Scientific to confirm specifications and availability.
The right tube should fit both the sample and the method, supporting consistent handling from preparation through to observation.


