Measuring cylinders are used to measure liquid volume during routine laboratory work. Their graduated scales and relatively narrow shape make them useful for tasks that need a clearer volume reading than a general-purpose beaker provides.
They are found in teaching, research and industrial laboratories, supporting activities such as sample preparation, liquid collection and process checks.
Getting useful results depends on choosing a cylinder with suitable capacity and tolerance, then reading it correctly.
What is a measuring cylinder?

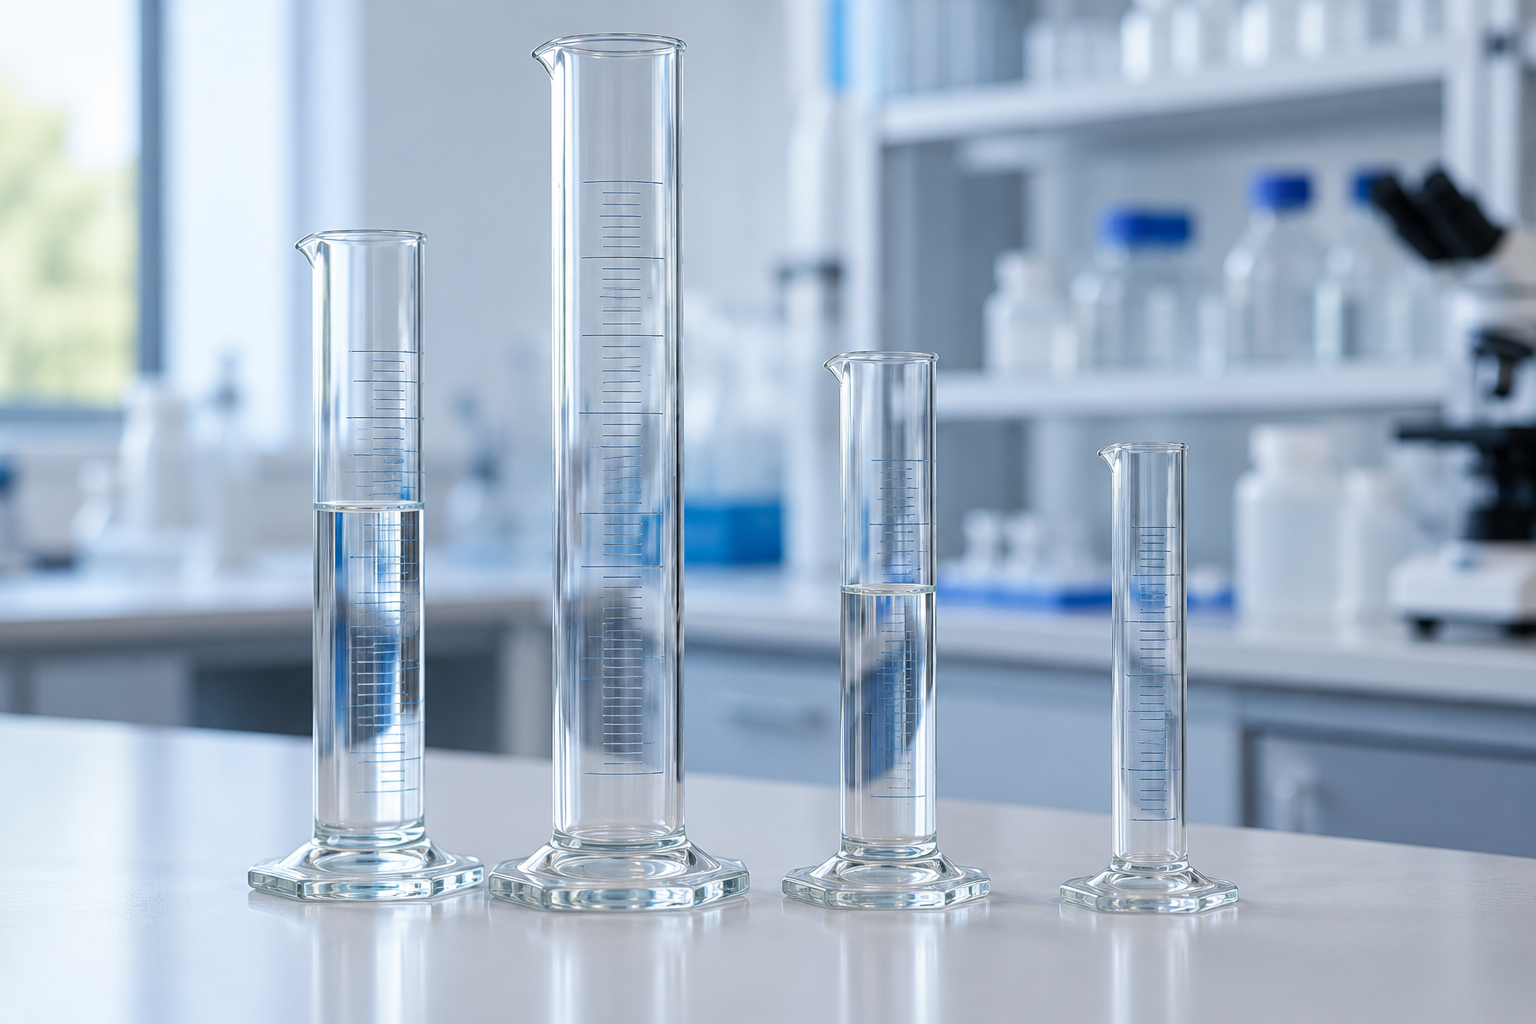
A measuring cylinder, also called a graduated cylinder, is a glass or plastic vessel marked with a volume scale. Most have a supporting base and a pouring spout.
Common capacities include 10 mL, 25 mL, 50 mL, 100 mL, 250 mL, 500 mL and 1 litre. Available sizes and graduation intervals vary by product.
The important distinction is between capacity, scale divisions and tolerance:
- Capacity is the nominal volume the cylinder is designed to measure.
- Scale divisions are the intervals between graduation marks.
- Tolerance describes the permitted deviation under specified conditions.
Small scale divisions do not, on their own, guarantee a highly accurate measurement.
Where measuring cylinders fit into routine laboratory work
Measuring liquids for general preparation
Measuring cylinders are useful when a method permits their level of uncertainty.
Practical example: A technician needs approximately 80 mL of water for an initial washing step. A suitable 100 mL measuring cylinder provides a convenient way to measure that amount.
If the procedure instead requires preparing a solution to an accurately defined final concentration, volumetric glassware may be necessary.
Collecting liquid for process checks
A cylinder can collect liquid discharged over a measured period, allowing an average flow rate to be calculated.
Practical example: A bench-scale filtration unit produces 150 mL of filtrate over 30 seconds. The average collection rate is:
150 mL ÷ 30 seconds = 5 mL per second
The reliability of that result depends on both the volume reading and the timing. Repeated measurements can help reveal variation in the flow.
Measuring displacement
A suitable measuring cylinder can help estimate the volume of an irregular solid by recording how much the liquid level rises.
Practical example: The initial water reading is 40 mL. After a compatible solid is fully submerged, the reading is 47 mL. Its displaced volume is approximately 7 mL.
This approach requires a solid that does not dissolve, react with the liquid or absorb enough liquid to distort the result. Trapped air bubbles can also affect the reading.
A South African research example: wastewater treatment
A Cape Peninsula University of Technology dissertation investigated a photocatalyst for degrading textile wastewater pollutants.
Its experimental procedure reports using a graduated measuring cylinder to measure 280 mL of ethanol, which was then mixed with 120 mL of deionised water during material preparation. The dissertation also identifies B&M Scientific as the supplier of several chemicals used in the research.
Read the CPUT wastewater-treatment research.
This example shows how routine volume measurement supports a broader research workflow. The measuring cylinder performs a defined preparation task alongside specialised synthesis and analytical equipment.
The appropriate measuring instrument still depends on the requirements of each individual step.
How to choose the right measuring cylinder
Select a suitable capacity
Choose a cylinder that accommodates the target volume and provides useful graduation spacing around that reading.
| Routine requirement | Possible starting choice | What to check |
|---|---|---|
| Measuring around 8 mL | 10 mL cylinder | Whether its tolerance meets the method |
| Measuring around 40 mL | 50 mL cylinder | Graduation interval and readability |
| Measuring around 80 mL | 100 mL cylinder | Required uncertainty and material compatibility |
| Collecting around 400 mL | 500 mL cylinder | Stability and collection space |
| Measuring a critical small aliquot | Suitable pipette | Required delivery accuracy |
These examples guide selection; the laboratory method and product specifications determine the final choice.
Compare Class A and Class B
For comparable cylinders made to the same applicable standard, Class A generally has tighter tolerance limits than Class B.
Class B may be suitable for many routine tasks, while Class A can support work requiring lower permitted volume error. Always check the stated tolerance and any relevant certificate.
A Class A measuring cylinder does not automatically replace a volumetric pipette or flask.
Choose glass or plastic for the application
Glass offers clear visibility and can provide good chemical resistance, depending on its composition and the substance involved.
Plastic offers lower weight and reduced breakage risk. Its chemical resistance, temperature limits and sterilisation suitability depend on the polymer and product design.
Choose using the actual chemical and operating conditions rather than appearance alone.
How to read a measuring cylinder correctly
- Place it on a level surface. Keep the cylinder upright and stable.
- Check the graduation interval. Establish what each small division represents.
- Add liquid slowly near the target. This reduces overshooting.
- Let the liquid settle. Allow bubbles and movement to subside.
- Read at eye level. Viewing from above or below introduces parallax error.
- Use the appropriate meniscus convention. For clear aqueous liquids forming a concave meniscus, read the bottom of the curve.
A meniscus forms through the interaction between the liquid and the container surface, as explained by the US Geological Survey. Other liquids or opaque samples may require a different reading convention under the relevant method.
Common measurement mistakes
Using a cylinder that is too large
Measuring 5 mL in a 1-litre cylinder makes the small volume difficult to resolve. Choose equipment with a suitable range and tolerance.
Confusing measured volume with delivered volume
Check whether the cylinder is calibrated to contain or to deliver, often marked IN/TC or EX/TD. Liquid remaining on the walls after pouring can matter when transferring a measured volume.
Ignoring residual water
Water left in a cylinder can dilute the next liquid. Follow the method’s drying or conditioning instructions.
Preparing an exact solution by adding separate volumes
Combining measured quantities of solvent and solute does not necessarily produce an exact final volume. Where a precise concentration is required, use the specified procedure, commonly involving making the solution up to a mark in a volumetric flask.
Reporting more precision than the equipment supports
Record measurements at a resolution justified by the scale and method. Extra decimal places do not improve the underlying measurement.
Measuring cylinders from B&M Scientific
B&M Scientific product listings on LabBuddy include a 100 mL A Grade measuring cylinder, a 500 mL B Grade measuring cylinder and a 500 mL plastic measuring cylinder.
For help selecting an appropriate option, contact B&M Scientific with your target volume, required tolerance, chemicals and operating conditions. A well-chosen measuring cylinder makes routine work easier while keeping the measurement appropriate to the task.